Water can wreak havoc on a residential property and cause severe and irreversible damage to your ceilings. It’s important to act quickly if this happens. Failing to take immediate action could result in your ceiling deteriorating to the point of needing replacement. A water-damaged ceiling can also be a breeding ground for mold, which can lead to a slew of other concerns, including health problems. Here, Paul Davis Restoration of North Dallas goes over the telltale signs of water damage on ceilings and offers tips on how to remediate them.
Signs of Water Damage on Ceilings
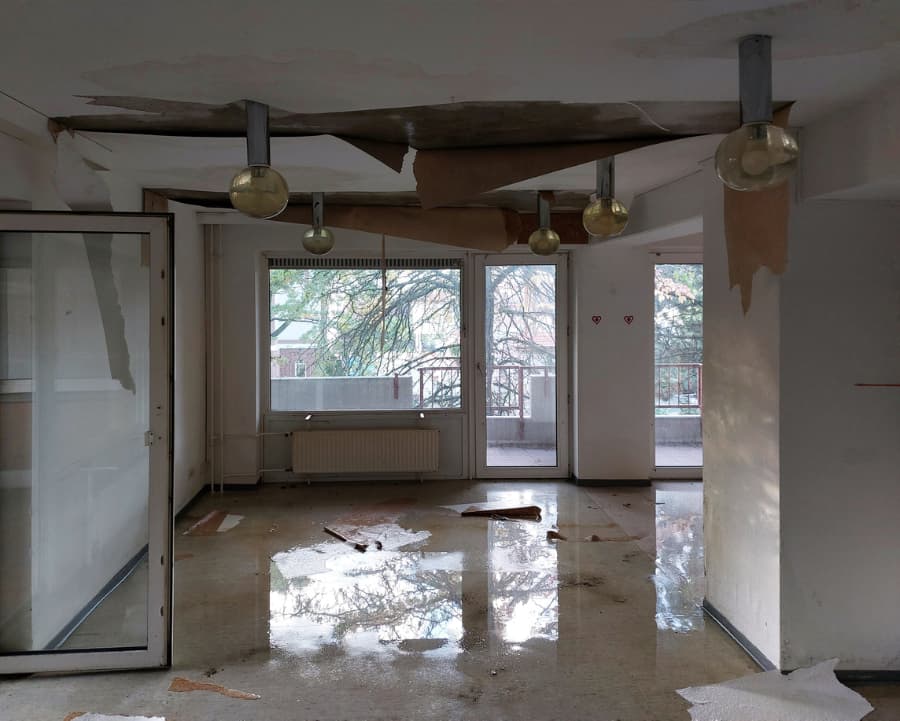
Water damage can come from many different sources, including severe rain storms, burst pipes, local flooding, leaking appliances, or other emergencies. Water damage can also indicate a more serious problem is occurring within the home. Homeowners should be on the lookout for the following warning signs when inspecting ceilings for water damage:
- Peeling, bubbling, or flaking areas due to water stretching the paint on the surface of the ceiling
- Small hairline cracks located on the ceiling or a larger series of cracks in a spider web pattern
- Water rings, generally light brown in color
- Softened drywall
- Mold growth, especially in corners where walls and ceilings meet, and often in humid rooms or locations like basements or crawlspaces
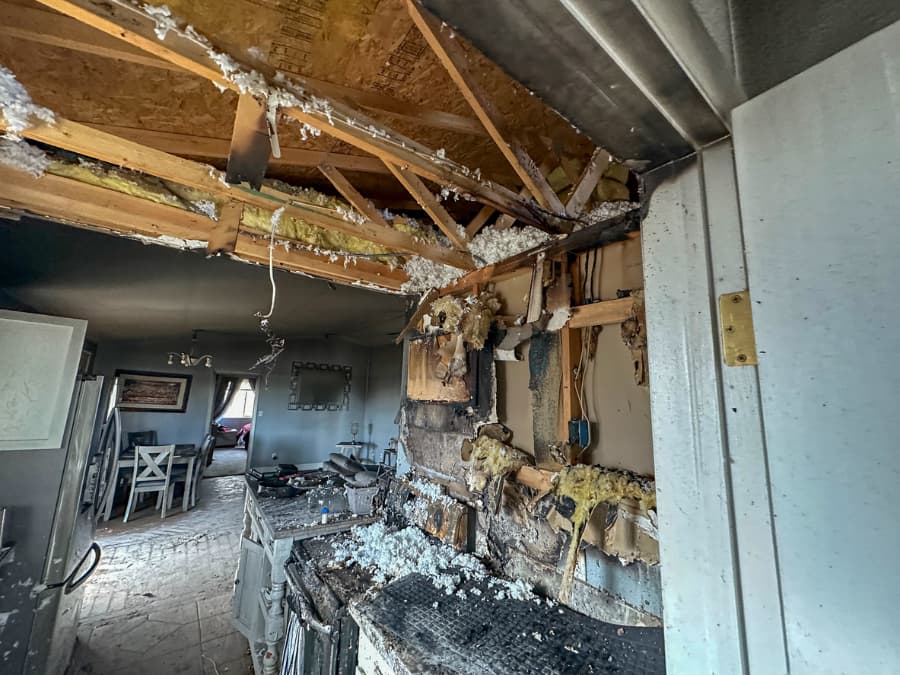
- Sagging or bowed ceilings
- Dark water stains with a similar appearance to rust
- Musty smells
How to Repair a Water-Damaged Ceiling
While water-damaged ceilings may be an annoyance to homeowners, it is usually possible to salvage them. However, this requires more work than just painting over the damage. The following are steps that can be taken to successfully repair water-damaged ceilings in your home:
Step 1: Identify Where the Water Comes From
Regardless of how well you repair your ceiling, it won’t matter unless you identify where the excess water is coming from. Locating and eliminating the source of the water should be your first step since it will help prevent further damage. Homeowners should first check the most likely culprits, such as a leaky roof, clogged gutters, or a burst or leaky pipe.
If you are unable to locate the source of the water, you may want to consider contacting the water damage professionals at Paul Davis Restoration of North Dallas. Our team is trained to determine the water’s source and correct it quickly and accurately.
Step 2: Dry Out Damaged Areas
After figuring out where the excess water is coming from and fixing the problem, homeowners must then allow the damaged areas to dry. This can be accomplished by ensuring the spot has sufficient ventilation or by placing fans nearby.
If the ceiling is bulging or sagging, puncture the area to release the water. Be sure to have a bucket in place to catch all the water. Homeowners should then take the time to make certain all areas of the ceiling are dry before proceeding with additional steps.
Step 3: Remove Damaged Drywall
Before removing any damaged drywall, homeowners should make sure they have the necessary protective gear, such as safety glasses, gloves, and facemasks. Then you can begin removing the damaged drywall. Depending on the size of the affected area, you can use your hands, or you may need a hammer or wrecking bar.
If the drywall panels only show water stains and not structural damage, they can be salvaged by cutting out only the damaged areas. When removing affected spots, consider using a keyhole saw and cutting the damaged drywall into a square or rectangular shape. This makes patching much easier.
Step 4: Repair the Drywall
Now that you’ve successfully removed the damaged areas, it’s time to repair your ceiling. Start by sanding the edges to smooth any ridges or bumps. Next, fill all small holes with joint compound, letting it dry, and then smoothing it down again.
If you needed to cut out damaged areas, measure the size of the hole and then cut out a new piece of drywall 2 inches wider and longer than the hole. Starting with a bigger piece of drywall that can be cut down with a utility knife helps create the perfect fit.
Step 5: Prime and Paint
Once repairs are complete, you are ready to prime and paint your ceiling. Remember to open any windows to provide proper ventilation during the priming and painting process.
Get Expert Water Damage Services at Paul Davis Restoration of North Dallas
Restoring a ceiling that has experienced water damage can be a daunting task. If not done correctly, homeowners run the risk of causing further damage or creating unsafe conditions for everyone in the house.
Located in Carrollton and serving North Dallas and surrounding areas, Paul Davis Restoration of North Dallas can help by providing expert water damage restoration and repair services. Our team possesses the knowledge and skills to quickly restore your home after it has suffered water damage. Contact us today to learn more about our restoration services and the telltale signs of water damage on ceilings.